Manage Flux Apps
In this document, we will explain common operations for creating and managing Flux Apps.
You can also create Flux apps from ready-made templates. See Create Flux Apps from Soracom Flux App Templates for more information.
Create a Flux App
The number of Flux apps you can create is determined by the plan you are using.
To create a new Flux App:
-
Sign in to the User Console. From the Menu, open the Soracom Flux screen.
-
Click Create a new Flux app.
-
Choose between Create from blank and Create from templates.
Click Create from blank to start a new app from scratch, or click Create from templates to use a ready-made template. For more information about templates, see Create Flux Apps from Soracom Flux App Templates.
- If you chose Create from blank, enter a Name and Description, then click Create.
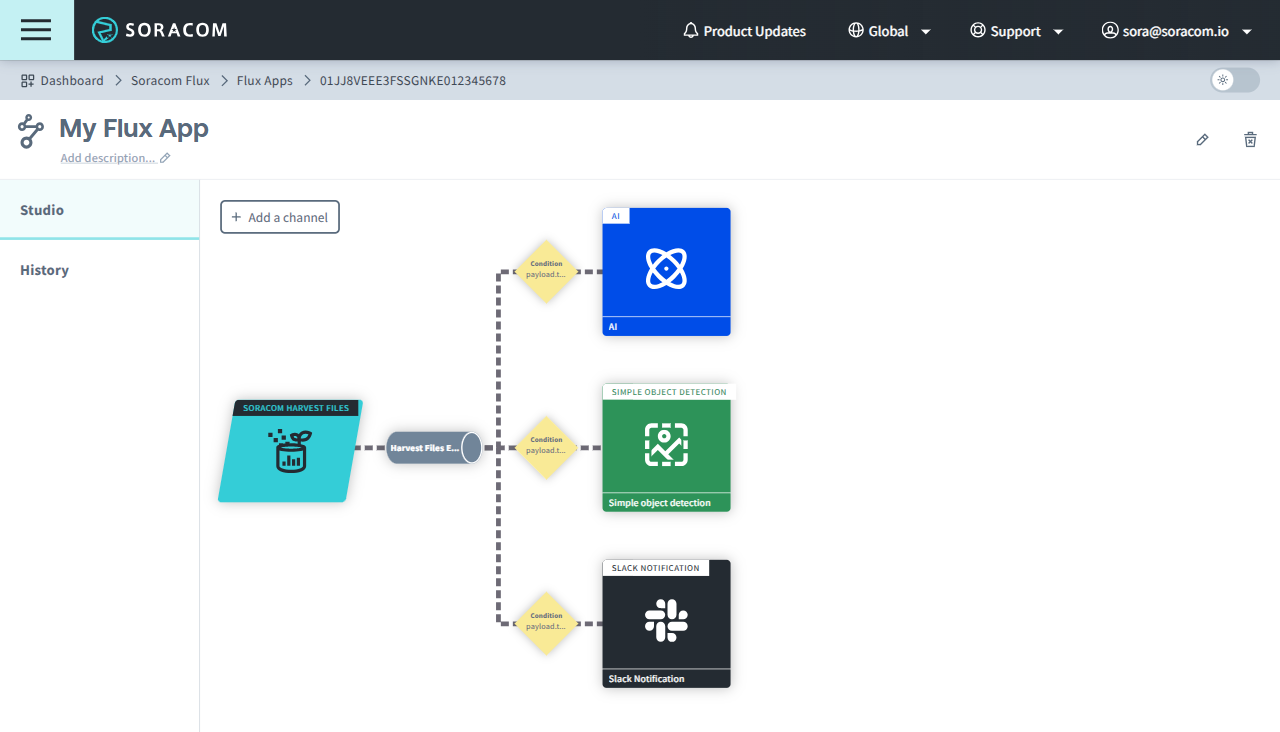
You will be redirected to the Studio tab of your Flux App. If this is your first app, you will see the Soracom Flux Studio welcome page where you can begin creating channels. For details, see Create a Channel and Select an Event Source.
Open a Flux App
To open an existing Flux App:
-
Sign in to the User Console. From the Menu, expand Soracom Flux and select Flux Apps.
-
Click the Flux App you want to open.
The Studio tab of the Flux App is displayed.
Delete a Flux App
Deleting a Flux App will also delete its Execution History. Deleted Flux Apps cannot be restored.
To delete a Flux App:
-
Open the Studio tab of your Flux App.
-
From the Studio tab of your Flux App, click (Delete Flux App).
- Click Delete app to confirm the deletion of your Flux App.
You will be redirected to the Flux Apps list, and the deleted Flux App will no longer be displayed.