Configuration
Before enabling Gate, ensure that you have completed the following:
- Create a Virtual Private Gateway.
- Create a Soracom Air for Cellular Group.
- Configure your group's Virtual Private Gateway option to use your VPG.
- Add Air for Cellular subscribers to the group.
Then, enable Gate for your VPG:
-
Sign in to the User Console. From the Menu, open the VPG screen.
-
From the list of VPGs, click the name of the VPG you want to configure to open its settings page.
-
Click the Device LAN tab.
-
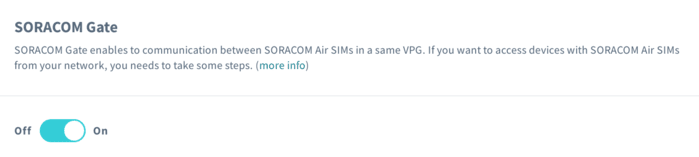
Enable Gate by switching the option to ON.
- Click the Save button at the bottom of the panel.
When using Gate with an Arc Virtual SIM/Subscriber, you must add your VPG's Device Subnet IP Range to either your:
- WireGuard configuration file under
AllowedIPs. - soratun configuration file under
additionalAllowedIPs
You can check your Device Subnet IP Range on the VPG Settings Screen. The default range is 10.128.0.0/9.
Programmatic Usage
Soracom API
Enable Gate by using the openGate API method:
curl -X POST \
| https://g.api.soracom.io/v1/virtual_private_gateways/<VPG-ID>/gate/openOnce enabled, the API will return a response indicating the status of the VPG:
{
  "operatorId": "OP0012345678",
  "vpgId": "abcdef00-0000-0000-0000-000012345678",
  "type": 12,
  "status": "running",
  "useInternetGateway": true,
  "tags": {
    "name": "my-vpg"
  },
  "createdTime": 1467007824685,
  "lastModifiedTime": 1467012076035,
  "primaryServiceName": "Gate",
  "vpcPeeringConnections": null,
  "virtualInterfaces": null,
  "gateOpened": true
}
You can disable gate similarly by using the closeGate API.