Device Testing
After uploading a module to a Soralet, you can test the module remotely.
Testing with Mock Data
You can send mock data to Orbit directly, rather than using an Air for Cellular connection, to verify that your module processes data as expected.
First, create a JSON file, such as test.json, that contains some parameters that will be used to simulate a device sending data to Orbit:
{
  "source": {
    "resourceType": "Subscriber",
    "resourceId": "295050012345678"
  },
  "payload": "{\"name\":\"sora\",\"value\":23.54}"
}
Here, the payload attribute should contain the data that your device will send. This will also be the data that is passed into the WASM module.
Using Soracom CLI
To run a test using the CLI, run the soralets exec command to execute the module using this mock data:
soracom soralets exec --soralet-id my-soralet \
|  --version 2 \
|  --direction uplink \
|  --content-type application/json \
|  --body @test.json
Arguments:
--soralet-id- The Soralet ID.--version- The module versionto use.--direction- The data direction, depending on how your WASM module is implemented.--content-type- Content-Type of thepayloaddata.--body- The data for the mock test. Use the@symbol to specify thetest.jsonfile that contains the test parameters.
When transmitting binary data, you can set --content-type to application/octet-stream, and then pass in the Base64-encoded data in the payload parameter.
Using VS Code
-
Open the SORACOM Orbit Tools view from the Activity Bar.
-
From the Soralets panel, expand the Soralet containing the module version you want to test.
-
Click the Test Soralet with data from a file button displayed on the right side of the module version.
- Specify the path of the JSON file containing the test data, then click OK.
The test result will be displayed in the Output panel.
If you are developing with AssemblyScript and testing locally with Jest, you can use the JSON file that is generated in the tests/inputs/ directory after running a snapshot test. This will allow you to use the same test parameters both during local testing as well as when testing your module remotely on Soracom.
You can rerun the last test using the SORACOM Orbit: Run Last Test command from the VS Code command palette.
Testing with a Device
You can also test using a device that is connected to a cellular network with an IoT SIM in order to verify the correct data processing behavior.
Ensure that your IoT SIM belongs to a group, and that Orbit has been configured with the correct Soralet settings.
Then, simply send data to the Unified Endpoint. For example, when using a Raspberry Pi with a 3G/LTE modem connected to a cellular network:
curl -X POST \
|  -H 'Content-Type: application/json' \
|  -d '{"name":"sora","value":23.54}' \
|  http://uni.soracom.io
Tip! You can use Harvest Data together with Orbit in order to capture the data processing and view the converted data directly from the User Console.
Checking Logs
If your WASM module function makes use of the log() function, you can also check the corresponding logs that are created when Orbit executes your module.
From the User Console:
-
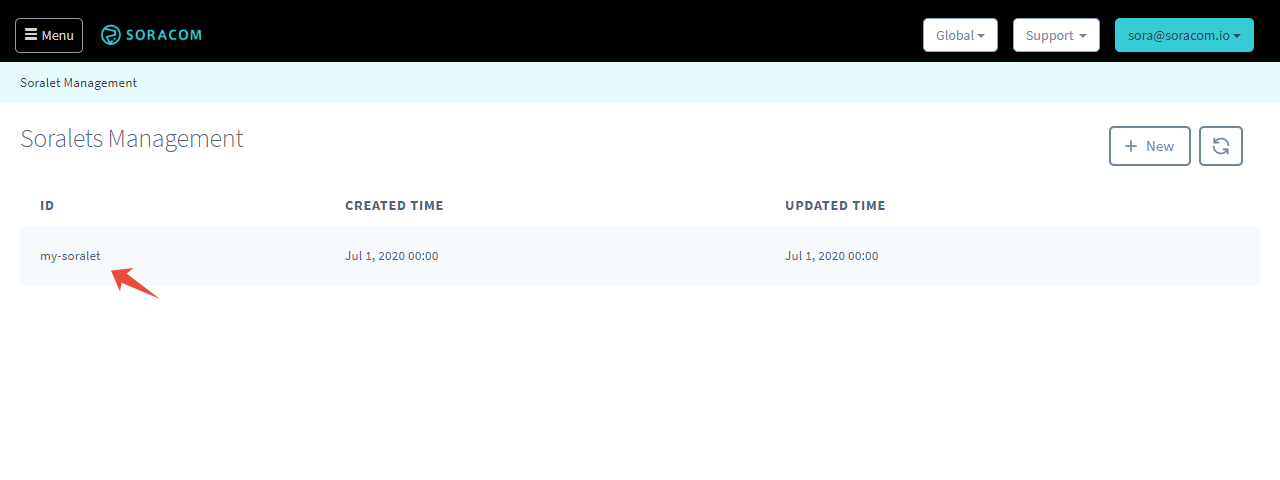
Sign in to the User Console. From the Menu, open the Soralet Management screen.
-
Click the ID of the Soralet you want to view.
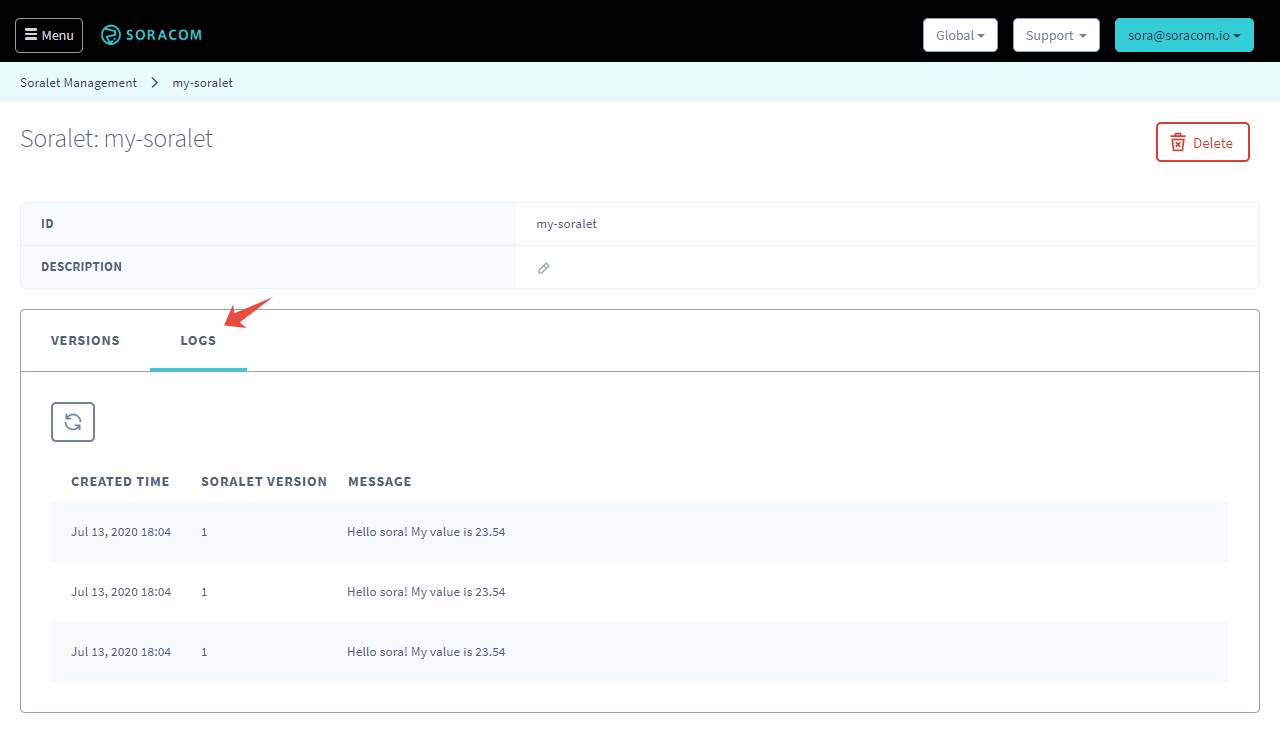
-
Click the Logs tab.
Or, you can use the soralets get-logs command with Soracom CLI:
soracom soralets get-logs --soralet-id my-soralet
>[
>  {
>    "createdTime": 1594663440182,
>    "message": "Hello sora! My value is 23.54",
>    "operatorId": "OP0012345678",
>    "soraletId": "my-soralet",
>    "version": 1
>  },
>  {
>    "createdTime": 1594663460776,
>    "message": "Hello sora! My value is 23.54",
>    "operatorId": "OP0012345678",
>    "soraletId": "my-soralet",
>    "version": 1
>  },
>  {
>    "createdTime": 1594663481478,
>    "message": "Hello sora! My value is 23.54",
>    "operatorId": "OP0012345678",
>    "soraletId": "my-soralet",
>    "version": 1
>  }
>]
You can also view the last 50 logs for a particular Soralet from within VS Code:
-
Open the SORACOM Orbit Tools view from the Activity Bar.
- From the Soralets panel, expand the Soralet that you want to check.
The Soralet Logs panel will show the 50 most recent logs.